Brushin' Up On Brushes
As a teaching artist, I like to explain to my students brush basics and how they can be used. Since I am now spending more time in the field, I am learning so many new things that I want to share.
I doubt you will ever be quizzed on the various parts of a brush, but when reading directions from a book or pattern, it is important to know the essentials.
Most brush handles are made of wood that's painted and/or varnished, but they can also be made from bamboo or plastic. The length is variable, from short for closer work, to long which are great for painting canvas. Working on surfaces that are on a table in front of me, or in my lap, I usually work more with the shorter handled brushes. When I paint on walls or furniture, I prefer the longer handles. What’s important for you is that it feels comfortable in your hand. Before you purchase a brush, hold it in your hand like you were going to use it and see if you like the thickness, weight, and other characteristics.
Brush hairs vary just like our own hair from thick to thin filament, long to short, and by style. What bristles are used in a particular brush depends on the medium and application. I did not know that some of the brushes labeled for acrylics would not fare well for oils. I asked why, and found out that some of the chemicals used with oils actually breakdown the bristles in some of the brushes. It is important to be extra conscious of what mediums you will be using with a particular brush. In addition, when the brushes are packaged, they contain a sizing to keep them stiff for transporting. Be sure to wash out the sizing before your first use.
The shiny, metal plate that attaches the hairs to the handle is called a ferrule. They can be made of stainless steel, chrome, nickel plate or from a variety of other metals to keep them rustproof. Their job is to firmly hold the brush hairs in place and transition to the handle.
What's important is that they're firmly held and aren't going to fall out as you paint.
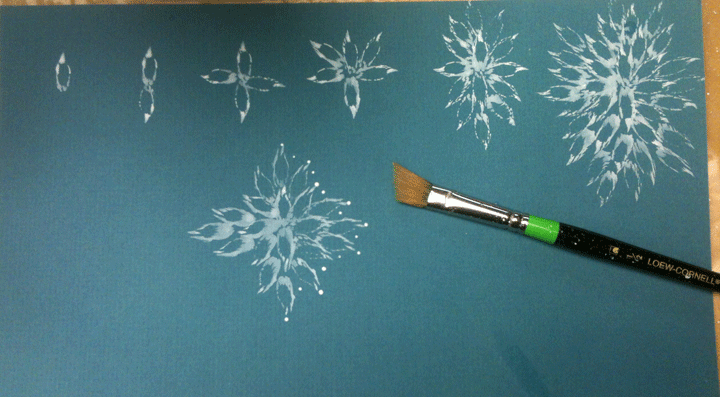
The most familiar brush shape is probably the round brush. This is a versatile brush that can be used to a point or flattened out. They are mostly made from synthetic to give a good spring in the bristles and have a memory to regain shape.
The next most common brush you see is the flat brush. This brush has a flat ferrule, is wide and flat and available in a variety of widths. A flat can also be called a shader, flat or bright, depending on the length of the hairs and its intended use. These brushes are used for shading and highlight applications, strokework and basecoats. They are also wonderful for creating ribbons and circles. When dragged on their tip, can make long lines of varying widths.
A filbert is built like a flat brush with rounded sides and is multifunctional. They are a mix of synthetic and natural hair. Used as a flat brush it can make wonderful strokes. It can also be used as a shader and basecoats. If you angle it to its side, it gives a thin line and if you apply varied pressure can be used for ribbon and other strokes.
A variation of the filbert is the filbert rake. This brush has the same properties of the filbert with textured layering that allows you to create basket weave, Santa’s beards, fur, linen, etc. For these applications, I appreciate this brush for its softer bristles more than a traditional stiff rake brush.
A fan brush is a brush with a thin layer of bristles spread out by the ferrule into the shape of a fan, that can made of either synthetic or a stiffer, heavier, bristle. A fan brush is commonly used to blend colors, paint hair, grasses, or thin branches and foliage. Liner brush is a thin brush with either short or long bristles and varying handle widths. The longer liners carry more paint and can be used for strokes and thin detail. Short liners are for thin, small details. To best load a liner brush, thin the paint until it is the consistency of ink and keep the handle completely vertical when using it to allow a smooth gravity flow of paint.
A scroller is like a liner brush, but comes in a longer length to carry paint along its sides. By holding the brush lower on the ferrule, you are able to use the scroller like a liner brush.
A mop brush is a softer haired puffy brush used for softening, watercolor washes. It can hold a large quantity of fluid paint. It is one brush that requires a little extra time to clean. I like to use it when varnishing my piece after it is complete. They come in various widths and lengths.
Brush cleaning advice is as varied as brushes themselves, but most experts agree that brush care is an important part of an artist's success. If you do not take extra time to clean your brushes after each use, dried paint, dust, and mediums will accumulate and change the properties and shape of the brushes. Here are a few suggestions:
1. Wipe off any excess paint using a cloth or paper towel. Gently squeezing the bristles from the ferrule edge outwards with your fingers, or with a cloth. This helps remove paint from the brush. Use gentle pressure to keep from pulling out the bristles. 2. Rinse the brush in cool water for acrylics and water-based mediums, or turpentine if you've been using oils. Using hot water is never recommended as it will set the paint in your brushes and in some cases, expands the ferrule causing the hairs to fall out. 3. Remove the remaining paint by wiping on cloth or paper towels again. 4. Clean bristles by using a brush cleaning cake or your favorite liquid brush cleaner. If using liquid cleaner, pour into a container or the palm of your hand (do not use your hand if you are using any toxic pigments or solvents). Using a back and forth motion, stroke the brush gently into the soap or brush cleaner and work up a lather. 5. Rinse and repeat by loading it into the cleaner until no trace of any color remains. You may notice a little staining in the brush hairs over time based on the medium you choose. 6. Load a little of the brush cleaner back into the brush and shape the bristles into the correct shape, letting the brush cleaner dry in the bristles. 7. Let the brush dry at room temperature being mindful that the bristles are not lying against any surface that might misshape the brush. 8. Before using the next time, wash out the brush cleaner in clean, cool water. If necessary, wrap the bristles in a piece of tissue or toilet paper while the brush is still wet. When the paper dries it'll contract, pulling the bristles into shape.
I hope this information helps you understand brushes a little better and that you feel a bit more confident in your brush choices. Let me know what you are working on! Send me an email at timberandtole@hotmail.com.